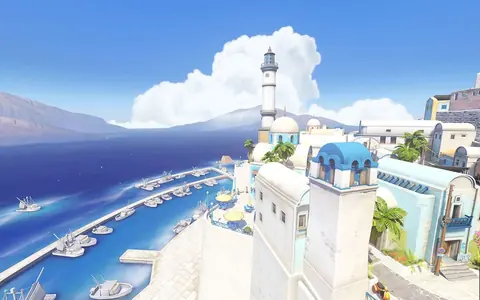
CONTROL MAP
Last updated September 2026Ilios map guide
Greek seaside. Objective, spawns and health packs in plain English.
Map at a glance
How the map works
Objective flow: the order of play, not a map.
- Both teams leave spawnFrom opposite ends
- The point unlocksOne point in the middle
- Hold it to 100%Stand on it without enemies
- Win two roundsEach round is a different sub-map
Key areas
- Lighthouse
- The point sits in a walled bay at the far end of the map.
- Ruins
- A long, open map with a row of columns beside the point.
- Well
- A square courtyard point with a deadly hole in the middle.
Tactical map
Verified tactical map- Point
- Higher ground
- Wall
- Small pack
- Large pack
- Spawn direction
- Point
- Higher ground
- Wall
- Large pack
- Spawn direction
- Point
- Hole: falling kills
- Higher ground
- Wall
- Small pack
- Large pack
- Spawn direction
Simplified schematic, not to scale: walls, stairs and props are merged or left out, and each sub-map is turned to fit a phone. Every health pack is marked, based on a published overhead guide whose counts match other guides.
The basics
- Objective
- Both teams fight for one control point. Standing on it alone builds your capture progress. Rounds are played on one of the three sub-maps and the first team to win two rounds wins.
- Where you spawn
- Each sub-map is mirrored: the two teams start at opposite ends and reach the point from their own half. On Lighthouse the spawns are in the corners, and the point sits at the far end of the map.
- Health packs
- Every health pack on each sub-map is on the diagram: eight on Lighthouse, seven on Ruins and ten on Well. Large packs are drawn bigger than small ones.
Beginner tips
- On Well, stay away from the edge of the hole in the middle of the point, especially near enemies who can knock you back.
- Lighthouse and Well are cramped, so close-range heroes do well.
- Ruins is long and open. Use the columns and the raised structure beside the point as cover.
- Health packs are everywhere. Retreat to one instead of fighting at low health.
More maps to learn
Not sure how Control works? Game modes explained · All maps
Keep learning: which role to play · hero counters for this matchup · how to read the scoreboard after the match